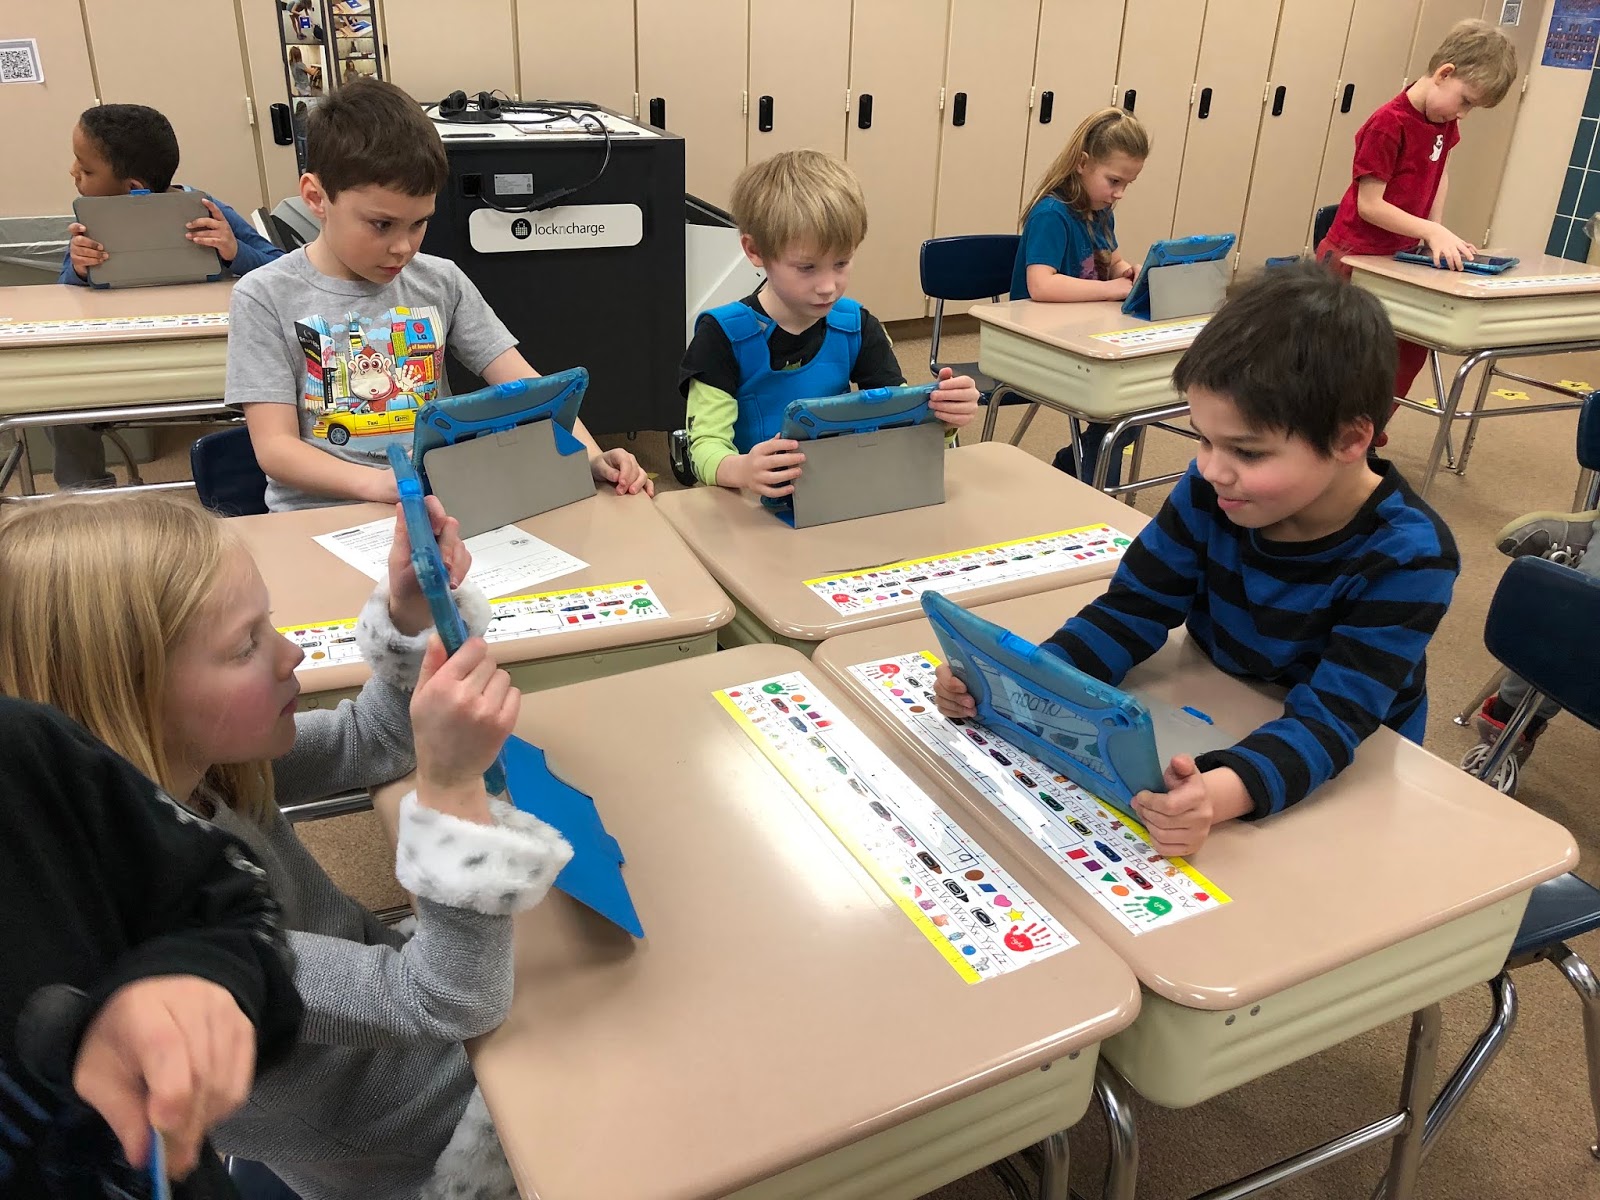
Our 2nd Graders have been studying 2 dimensional shapes. Second grade teacher, Mrs. Quaal, asked for my help to create an activity that would allow students to take a photo of shapes in their classroom, draw the shape on top of the image, and record themselves identifying each shape and its defining elements. Essentially they created a series of screencasts, one for each shape. We used one of Seesaw's newer features, Add Page in order to create this series.
To accomplish it, students followed the steps from an activity that I created so we could easily remember each step.
Though it was helpful to see the documentation from the steps, we streamlined it on Mrs. Quaal's whiteboard to help students remember where they were in the steps.
Because Mrs. Quaal's students were accustom to using Seesaw, they managed this multistep activity quite well.
Check out this example of a single screencast from a series that the student created.
I learned a great deal from this lesson. I loved watching how engaged and independent the students were in demonstrating their learning. I also realized a few minutes into the lesson that I needed to be clearer about how students should delete an image so they wouldn't delete all of the pages of their project. Once I realized that this was an issue, I quickly circled back around and added this step for students:
Caution - If you don't like your image, do no click the trash can in the upper left or it will delete all pages of your project! Use the attached to the image to delete the image with the trash can.
Now that we have worked out the kinks, this activity is a great template for students to screencast their future learning with Seesaw.
It's November! Already two and a half months of the year have flown by us! At OHE, we have many new initiatives that our teachers are trying to wrap around and embed into their classrooms. As the school's Digital Learning Specialist, my main task is to support those new initiatives for teachers and students.
Given the sheer expanse of the overall objectives of digital learning in today's classrooms, I would never say that any one app should become the single focus for educators. After all, any app is only as good as its use with our students, and variety is the spice of life! However, our experiences with Seesaw this year has proven it to be very close to perfection as we continue to push toward the larger aims of digital learning. It has been fun watching our OHE teachers embed this tool with ease into their classrooms!
This year, Lakeville Area Schools adopted Seesaw as our LMS for K-4. We moved from the free version to the paid version, so now it is supported by our district's student information system. I have been so impressed with how many of our teachers embraced Seesaw right from the start. This is a tribute to the user friendly interface from Seesaw, and our fabulous teachers! Greatest of all, Seesaw supports student voice, choice, collaboration, communication and creativity. Love it!
I began the year with a two hour staff inservice. For those of you who know how an elementary school year startup feels, you know that teachers hit overload in the first hour or two of back to school meetings. So much info! With this in mind, I tried to make it as simple and easy for them as possible. I was lucky to have a Seesaw webinar arranged by our district's Digital Coordinator, Brianna Buck, and a customizable Google slide presentation that she had curated/edited from Seesaw. I was grateful for this jump start. It made the early days of Seesaw go much more smoothly.
Once the year started, I began to make the rounds to teachers, checking in, co-teaching Seesaw lessons with them and answering their questions. Then at the beginning of November, I was given another opportunity to inservice staff. By then, our teachers had begun using Seesaw and were more comfortable with the app's ins and outs. During this inservice, we were able to begin fine tuning how we used Seesaw. Below is a Smore newsletter I used for this inservice.
Most recently, I began sending our staff a Smore email each week with some of the OHE highlights. This has proven to be very popular. I believe our teachers find inspiration and encouragement from seeing what others in our school are trying!
Our fall Scholastic Book Fair & Grand Event had a fabulous selection of books this year, and our grandparent event saw our largest attendance yet! The Grand Event was held before school starts with a very early start time, but our dedicated grandparents seemed unphased! I am so grateful for all of our parent volunteers, and specifically our co chairs, Jeannie Storlie and Katie Blanchett. They spent many hours before and after the fair making sure everything went smoothly!
I created a book preview video for our OHE morning announcements during the fair.
I also created a celebration video for our Grand Event!
Finally, I shared A Big Book Fair Thank You with our OHE community to express my gratitude for the new books we purchased for our Oak Hills Library! All in all it was a huge success!
Somehow along the way, I became our school's photographer and videographer. In truth, it is an unofficial title I have given myself, but it does feel like I am the keeper of our precious OHE memories. I evolved into this role, but when I think back, it definitely grew in 2017 when I became responsible for our OHE daily announcement video that students record using a green screen and the Touchcast app. (To read more about our Touchcast announcements, check out my blog post Daily Announcements At OHE - Figuring It Out!)
Then and now, each time we have an OHE event, I create a celebration video to embed in the announcements. Even though it wasn't my original intent, these videos have become a video timeline for OHE. I am happy to create these for our school as they share a few of the things that makes our school so special. Here are a few from September and October.
The month of May has been CRAZY busy with digital projects at Oak Hills Elementary! This isn't a new phenomenon for us. During May, classrooms finish with their state MCA testing, and teachers begin to turn to the much anticipated (and dreaded by some) research projects. Some form of research is part of the ELA standards at all grade levels. In April, I sent a flurry of emails to our teachers giving them suggestions for sources for their student research. I wanted to help guide them to find sources (digital and book sources) that would support their curricular goals and provide options for differentiation for the wide ability of readers in their classrooms. Next, I set about trying to convince each grade level to choose a digital option for a final demonstration of knowledge. Several had always done their project with paper and pencil, so I was happy when they all jumped on board! (2nd grade was done with their community jobs/careers research, so we did a creative writing lesson! ) Now the problem was how to navigate getting enough devices to the right grade levels and being available to help with the teaching. With a great deal of effort, scheduling and borrowing we all pulled together to figure it out.
At the beginning of research, I also took the opportunity to discuss digital safety and citizenship with our students. By embedding this information into introduction lessons when student are actually about to practice these skills, I believe it adds relevance for them.
5th Grade
Our 5th graders used iPads and iMovie to create a final project about an American hero of their choosing. This "tried and true" digital tool was the best option for a longer video. Following their research, students created their iMovie by adding images, text, music, and voice recordings about their famous person. They learned about pacing, how to rearrange images and match their voice recordings to the images by editing the length of each image. They learned how to edit the display of each image using the "Ken Burns Effect". They personalized their iMovies with interesting facts that would keep their audience interested! Their final movies were uploaded to Google Drive, shared with their teacher and viewed by the entire class.
4th Grade
Our 4th graders used Apple Clips to demonstrate what they learned about a state of their choosing. 4th grade teachers asked students to find 10 facts about their chosen state that they found interesting. They didn't restrict them to the state flag or tree, though some students wanted to include those facts. They wanted their students to find the facts that they found most interesting about their state.
After students found their facts, they used their iPads to locate images that would match their facts. With that done, students created their clips. They added a poster introduction, images with live titles and a few stickers for fun. Before students recorded their voices, I walked them through the best way to edit the text if the "voice to text" was incorrect. Finally, they airdropped their final projects to their teacher's laptop and watched them as a class. This lesson was so engaging that students and teachers loved the final results.
3rd Grade
Our 3rd grade teachers gave students more structure for their research as this was the first time these students would be doing individual research. To help scaffold students the teacher chose the same topic for students - loons. Also, the teachers pre-selected the websites that students could use before the project began. Student took notes about loons using their digital sources. They were encouraged to write fact without writing it word for word, in sentence fragments. This would help them avoid plagiarizing. (...a topic we covered before they started) Though this lesson wasn't individualized, it did give students an opportunity to learn how to research so that when they are released to choose their own topic, they will be ready. Once their research was done, student created Google Slideshows complete with titles, bullet points and images.
2nd Grade
Our 2nd grade teachers had already completed their research on community jobs/careers, so we worked together on a creative writing activity. Teachers read their classes the book Scranimals by Jack Prelutsky about animals and plants with mixed up parts.
Students used the website Switchzoo to create their own unique mixed-up animal. Once they had created their animal, I taught students how to take a screenshot of their animal as the website didn't have an easy way to download the image of their newly created animal. Students uploaded their screenshot animal image to Google Drawing. They then wrote about their animal using a text box inside Google Drawing. Students seemed totally engaged in this project and were proud of their final project!
At the beginning of May, our 5th grade teachers asked if I would be willing to help them teach a math standard around creating a spreadsheet. They wanted me to focus on teaching students how to create and use a spreadsheet to find averages: mode, median and mean. I jumped at the chance! I am a bit of a nerd when it comes to spreadsheets, and I knew that our 5th grade teachers would also find this information helpful.
We began by gathering simple data points from our students - their favorite ice cream flavors! What could possibly be more important. We covered the most basic concepts of spreadsheet cells and cell addresses. Students began by entering their data points, highlighting the data, and creating and editing graphs from this data. It also created an opportunity for us to discuss graph styles (circle, bar, line graphs) that best match the data.
We then moved to the average temperature for Lakeville, MN. With the data points entered, students highlighted their data and used the formulas for mode, median and mean (average). First we inserted the formulas using the available pull down menus in Google Sheets. Once we tried that, I taught students how to type in the formulas directly into the cell/formula bar and highlight the data. We practice changing the temperatures and watching how it affected the averages. Voila! Students thought it was cool that the spreadsheet would do their math functions for them!
A few years ago, I was so proud of a new makerspace that I added to our library. We didn't have much to start with, but with the help of our fabulous OHE PTO, I was able to slowly add maker tools to this area for our library. I wrote about my dreams for how students could grow and learn from this addition to library in my blog post: Small Changes Bring Big Results - Finding New Ways to Enhance Our OHE Library!
As time passed, I realized that my original dreams for a makerspace in the library needed to be revised to better fit our needs at OHE. I needed to embrace the Maker Mantra: I Try, I Fail, I Learn, I Try Again! Our students and teachers found it difficult in their schedule to add maker time to their weekly book checkout time. Our students rarely, if ever, had time to leave what they are engaged in with their class to wander into the library for makerspace time. So I tried a different approach. I put library barcodes on the makerspace containers and began to let teachers checkout the makerspace tools & toys for their classroom. Teachers liked the ideas behind giving student time to be creative builders with these tool, but they needed to be more intentional about making it work with their daily schedule. They also needed the flexibility to move a maker time into their classrooms so they could fit it between other parts of their schedule. Now, I am happy to report that our maker tools are checked out of the library weekly, with times when I don't quite have enough...so that will be the next goal. Oak Hills students LOVE being makers!
Over the
last several weeks, I began introducing Tinkercad to our 5th graders, giving students an
opportunity to design in Tinkercad and print with the 3D printer.This is our second year with a 3D printer (Makerbot Replicator+) at our
building, thanks to our PTO! This year, our work has gone a little more smoothly than last year as I
have mastered my own learning curve.I
created an introduction slideshow to kickoff our unit, teach a few basic concepts
about the potential uses of 3D printers in the world, and demo the “how to” of basic cad
design.(positive and negative space,
grouping, aligning, print bed) Not only does this unit align well with math and geometry,
it promotes design and creative thinking. Students also get more experience with the soft skills of perseverance and problem solving with the maker cycle:
Time working with Tinkercad and students has taught me that there are a few things we have to manage. I have to make sure students don’t grab designs that are already designed within Tinkercad. Though this crowdsourcing option in Tinkercad is fabulous once students understand how the design tools work, it can short change them initially by not forcing them to use the tools to create their own design. Once student have their own creation, I go through each design looking for common mistakes like accidentally pulling the design above the print bed and creating areas that are too thin for the 3D printer to successfully print. (nothing below 2-3 mm) These are things I had to learn from trial and error by working with students last year. Happily our students are gaining valuable experience that will help them as creators and designers!
We had two winners of our 2019 March Madness Tournament of Books, announced in the beginning of April! These students were so proud of their perfect brackets! They each won a book of their choice from the OHE BOGO Scholastic Book Fair in May. The school's winning book/play this year was Harry Potter and the Cursed Child.
Mrs. Lorenson wanted to get her students writing or journalling more regularly, so she asked me to suggest a digital tool that would provide her students with an easy way to write about their books. She had several requests for this routine writing activity. She wanted student to be able to use an image of the book cover in addition to writing a summary. Finally, she wanted the final products to be shared on ClassDojo so all of the students and parents could read the book hooks! Because our students are used to logging into their district provided Google account, I thought using something from the Google suite might be easiest. This would also give students much needed practice with word processing. We decided to use Google Drawing with a text box for the summary/book hook. This web app should provide Mrs. Lorenson's class with some good writing opportunities, while creating a nice finished product. I also taught students how to take a screenshot on their Chromebooks (control+shift+the window switch key). Once they had their book hook saved as an image, they were able to easily upload it to their ClassDojo account. This allowed them to read each other's book hook and share with parents.
Mrs. Lorenson's students will be doing these frequently, so that will give me the opportunity to suggest improvements. I didn't have students add color to the background. As a result, you can see the checkerboard background of Google Drawing. This is easily fixed moving forward by simply adding color.
Recently, Mrs. Pettis asked for my help in selecting a digital tool that would allow students to gather information about topics from Ancient Egypt. She uses a teaching technique called the "jigsaw method" where students research and create sharable content around a single topic from a larger body of information. Once each student finishes, they are responsible for teaching the rest of the class about their single topic area thus giving every child the opportunity to gain information about the entire topic, in this instance, Ancient Egypt. (family life, structures, food, clothing, government, farming etc.)
Mrs. Pettis and I considered a few digital tool options, but in the end, Thinglink seemed to fit the requirements best. Thinglink allows students to add information (text, web pages and online videos) to a single image making it highly interactive. When a cursor passes over a bullet on the image, the content appears. (Check out the student Thinglink image above!)
Before we began, we set up Mrs. Pettis with a class in Thinglink, which created a code for students to join her class. It only took a few minutes, but made things go smoothly when we introduced it to her students for the first time.
The end result was an attractive and sharable image loaded with content for students to explore. It was an excellent way for students to share their knowledge so others could learn the content as well.
Our 1st Graders have been hard at work using their iPads in math, reading and social studies! The students are so accustom to using Seesaw that it has become a seamless part of the daily classroom experience. Students used their iPads to document their work with coins in math, word sort in reading and they finished a map project using iMovie. They were able to share their work using Seesaw.
As Mrs. McCollough's 3rd grade class came to the end of their unit on Ancient Greece, she wanted students to have an opportunity to share their learning about famous Greek philosophers. Since her students had never tried Apple Clips before, it seemed like the perfect opportunity to try it! Before I arrived for our Clips lesson, each student selected one of the Greek philosophers from their unit. Mrs. McCollough had them write down a few fact that they enjoyed most about their selected philosopher. Once I arrived, students used Google images to select and save several images of their philosopher. (We did have a shared laugh when students searched for statues and painting of Homer and found Homer Simpson images :)
On a side note, though worthwhile, searching Google images is always a little risky for several reasons. There is no 100% full proof way to insure that something inappropriate won't slip through. It is rare, but it does happen. Our district filters internet usage. Our iPads are set up with restrictions that help reduce problematic search results. On our Chromebooks, we use Google's "SafeSearch" option. No matter what device we use, image searching becomes an excellent teachable moment to discuss appropriate use and search strategies before students begin their searching. Without these opportunities to teach safe search strategies, we leave our students unprepared for the possible moments when they do stumble across things we prefer them avoid.
Another issue I like to address is the use of copyrighted material. Google also helps with this on our Chromebooks! Using the Image "Tools" option students can select usage rights to avoid using images that have copyright protection.
Back to our Greek Philosopher lesson with Clips...Once students had their images, I introduced them to the Apple Clips apps. Students didn't need much instruction as this app's interface is quite intuitive. Once they knew to hold down the pink button inside the app while they talk, students were ready to go! Students used their image library, video camera, posters, effects with stickers and live titles.
The lesson with Clips went smoothly. There was one area that I will do differently when I teach with Clips again. Next time I will show students how to edit the text of their "Live Titles" before they begin recording their speaking parts. I showed students how to turn on Live Titles and just like all speech to text options, there were occasional misinterpretations on what was being spoken. Students quickly got agitated when their live titles weren't correct. Since editing the text is easy, I would recommend showing the editing option before they start recording.
These 3rd graders loved using Clips and were proud of the results! It was quick and easy! I can't wait to try this again!
This week, all of our 3rd Grade classes decided they wanted to honor Black History Month with some research and followup by creating an eBook. They invited me in to help - YIPPPEE! I was happy to help as I have created eBooks with classes in the past. Check out this blog post of a class ebook from last year, 3rd Graders Share Their Story of a Snowy Day.
Students discussed and researched using a few websites that I preselected. 3rd Grade teachers wanted students to have the option to choose for themselves from an expansive list. Once they were done with their research, I shared with the students a Google Slideshow, with each student getting one slide. In the past, when I teach students to share a document, I am careful to go over the pitfalls of sharing a document between so may people. By taking the time to discuss the dos and don'ts of this digital experience, it smooths out many issues that might arise.(like accidentally deleting each other's work) Students created a text box with the name, birth/death dates and contribution of their distinguished Black American. We spent some time talking about standard accepted formats for typing dates, the format if the person was still living, how to choose the most critical fact/accomplishment for their person since space was limited. We made sure to cover the need to write the text and not just copy it. Students added text, and a background image. We discussed how to choose an image that didn't get stretched out of shape, maneuver text boxes, and change font color based on the background in the image so that the text would show.
Once the students completed their work, I downloaded the slideshow into pdf formatted document and uploaded it to http://anyflip.com . It was super quick and easy and made a beautiful sharable eBook! This format is perfect for students to share their learning with each other and the world!
Recently, with our frigid cold temps and day after day of indoor recess, I began a 5th grade Create Your Own Video Game Club with Bloxels. This club was to gather in students who were interested in creating their own video game. Once created, they shared their video game with each other, having fun and giving feedback. We huddled together in the OHE media work room and helped each other discover how to create. Students LOVED IT!!!
Bloxels is sold with game boards and blocks (we have 5 of these) so students can physically create characters and backgrounds manually, but truthfully, my students found that creating them digitally was faster, so they opted not to use the game boards.
After watching a few of the Bloxels "intro" videos, our sessions were fueled largely by the student's intuition and trial and error. Their background with video games did help them figure out what to do. They learned it quickly and confidently. The best part was that they were creating and designing their own game!


attached to the image to delete the image with the trash can.